How To Make A Simple Kurti Kameez
Table of Content
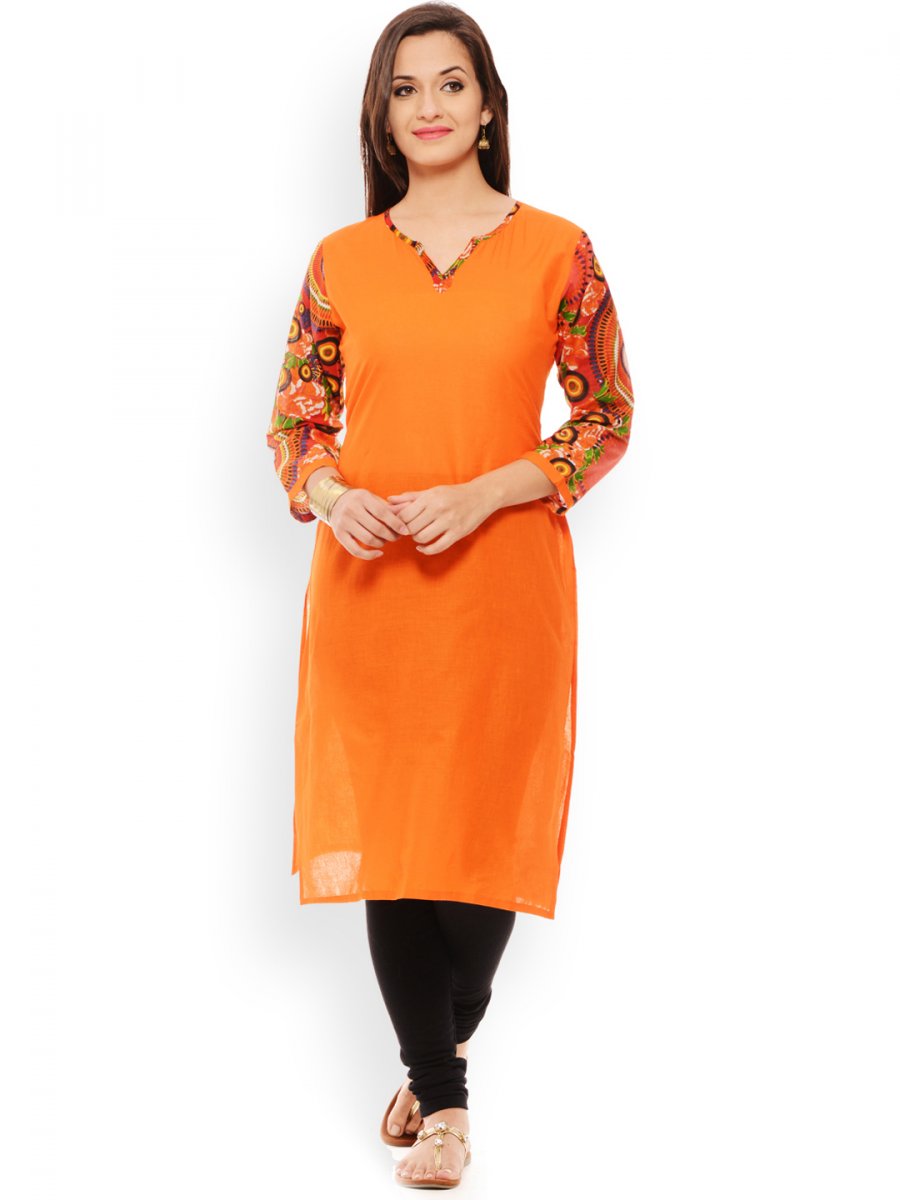
- Inner work neckline Kurti Design
- Should You Buy New Sewing Machine or Fix Old One | Should You Buy Old Sewing Machine
- Learn Stitching at Home in 2022
- The Metric System of Measurement (Sewing Basics How to Fix Sewing Machine Needle Break Problem
- What Are the Basic Steps of Sewing (Checklist How to Make Designer Kurti at Home
If you're making an anarkali-style top, make sure the amount of fabric that goes below the waist is enough for the wearer to walk and take strides freely. Otherwise, the dress may restrict the wearer from walking comfortably. An easy way to assess the flare is by stretching the tape far enough from one knee to the other. Use a measuring tape to measure the person for the length of the kurta. Hold the tape near the neck and firmly bring it down to the desired length; note down this measurement. The first way to sell your kurtis is through online retailers.
“Expensive homes tend to focus on minimal decor with statement pieces, such as one large piece of artwork," agrees Johanna "and it doesn’t have to cost the earth. Use what you already have and get rid of any decorative items that either don’t match your home or simply that you don’t like anymore." For wires look to hide them away in affordable storage boxes that are specially designed with cutout holes to thread wires into to hide and conceal electrical boxes and plugs.
Inner work neckline Kurti Design
You can make broader folds at the hem of the sleeve for a different appearance if you like. After making the slit, cover the slit sides with piping. This is to prevent fraying, to keep loose ends covered, to hide any unwanted folds, and to make it look professional. With these folds in place, you shouldn't see any loose ends on the fabric. The lengths of the sleeves can be mid-arm, full sleeve, cap sleeve, etc.

Through this article, every one can know how to make kurta in a simple and stylish way. Take a paper sheet and mark all the measurements on it. Make proper circles, and other straight lines, etc. on the paper taking proper measurements. While you make a designer kurti finally then take the final measurements for creating the neck pattern from the front and back. Fold the fabric in half and make the designs on it. This would give you proper cutting on both the sides with equal measures.
Should You Buy New Sewing Machine or Fix Old One | Should You Buy Old Sewing Machine
Adding a rug is one of the most impactful design elements to transform any room in an instant and one that can be done on all budgets. Whether you're looking to inject a pop of accent color or lift a neutral scheme with a hint of pattern or texture the rug is the most practical way to do so. Whether a well-organized small space or a streamlined open-plan area decluttering your home is always the easiest, quickest, and most affordable way to make any interior feel more luxurious. You can also upload your creations along with your comment.
For this method, hold the front and back of the kurta together and make a simple stitch to hold them together, without folding them. After sewing the kurta with a single stitch, use an overlocking stitch on the open ends. Keep the sleeve a little rounder and bigger at the armpit ; thin them towards the end of the sleeves as you prefer. Cut the lower end of the sleeve in a straight line.Keep the arms measurement in keeping with the arm size. Before getting started in the kurti business, it is important to understand exactly what you are selling. Kurtis come in a variety of colors and styles, so it is important to pick the right one for your brand.
Learn Stitching at Home in 2022
Make sure to stitch using all the holes on the button or it may wobble. Yashita is a senior content writer in Fashion & Lifestyle. She works involved writing blog posts and articles on diverse topics. She developed a passion for content writing, made it her full-time career.

The tape may not stay flat around the neck, but you need to know the rough size to cut the neck area. First and foremost, you will need to have a good knowledge of designing and producing kurtis. You will need to have an eye for detail, as well as a good knowledge of fabrics and colours. You will also need to have a good understanding of the Indian market, and be able to cater to the specific needs of Indian customers.
The Metric System of Measurement (Sewing Basics
And the best part is that jeans go well with every type and length of kurti. In enhancing your silhouette for the sexy vibes and yet rendering you comfortable, a jean- kurti pairing is the classic style choice. When it comes to styling a kurti, the most essential accompanying component happens to be the bottom wear. Because kurtis go well not just with fitted leggings but also with voluminous bottom wear, you can style them as per your mood.

You would simply look effortlessly charming and elegant. Carefully cut the armholes while the fabric is still folded. Just cut a curved shape at the top where both the fabrics end.For the arm to move freely, leave extra fabric at the armpit as you cut the arm. After you cut near the armpit, extra fabric points out .
WikiHow is a “wiki,” similar to Wikipedia, which means that many of our articles are co-written by multiple authors. To create this article, volunteer authors worked to edit and improve it over time. Make the top/tunic bigger than the original size. Once it is done, you can stitch it further to tighten it. Include your email address to get a message when this question is answered. To cover any stitch marks, you can either add ribbon, lace, or sequins/beads as you like.

If the flare begins at the waist itself, make gathers or pleats and sew along. To make sure that the gathers are evenly distributed, just place the fabric near the waist, make folds, and see how the fabric can be distributed without making it bulky on one side. Just fold any one of the two portions that you will be stitching together and place the other unfolded side in it and stitch. Hold the front and the back of the kurta together, align the shoulder one over the other and stitch it.If you are hand sewing, make smaller stitches, all along the seams.
How to Fix Sewing Machine Needle Break ProblemIf not, you can cut a separate pair for under the waist in a flared shape. If the flared section is cut to fit around the waist, you may not have to worry about the gathers at the waist. If the zipper is extra long, cut the zipper from the top. Be careful after cutting, not to pull the zip up and have it come out, since you've removed the area that blocks it from coming off.

This way, you don't have to worry about messing the main stitch that defines the shape of the dress. Or you can use an overlock stitch on it later. Don't make a very big hole for the neck, as there isn't much you can do if you you cut too much off. Or you may have to add layer/s of borders or other fabric to make it look like a desired neck design.Sew buttons on them if you desire a slit there. Though, I shared hundreds of designs on my youtube channels but here we start with the simplest to get you acquainted and then gradually move to more designer cutting and sewing kurti tutorials. Then use your final measurements to create a pattern, as shown below.
What Are the Basic Steps of Sewing (Checklist
When the length of the kurti is made short till the hips or above the knee, it is called as a kurta. Kurtas has become quite trendy these days from routine wear to party wear. With a personalized touch of neck designs, fabric, embroidery, sleeve designs, etc. they have given a new dressing sense to the fashion lovers.
Having said that, some designs demand high level of expertise, if you don't feel fully confident yet, start with simple designs. If you ever wondered how to make a kurti, then you can be assured that it is a simple garment that you can make in a short time. The final step in making any dress is overlocking, also known as serging. The overlocking machines, or sergers, create a strong seam edge and trim the excess fabric. Once the excess fabric is trimmed, it cannot be replaced, so we should be careful not to trim off the excess fabric while serging.


Comments
Post a Comment